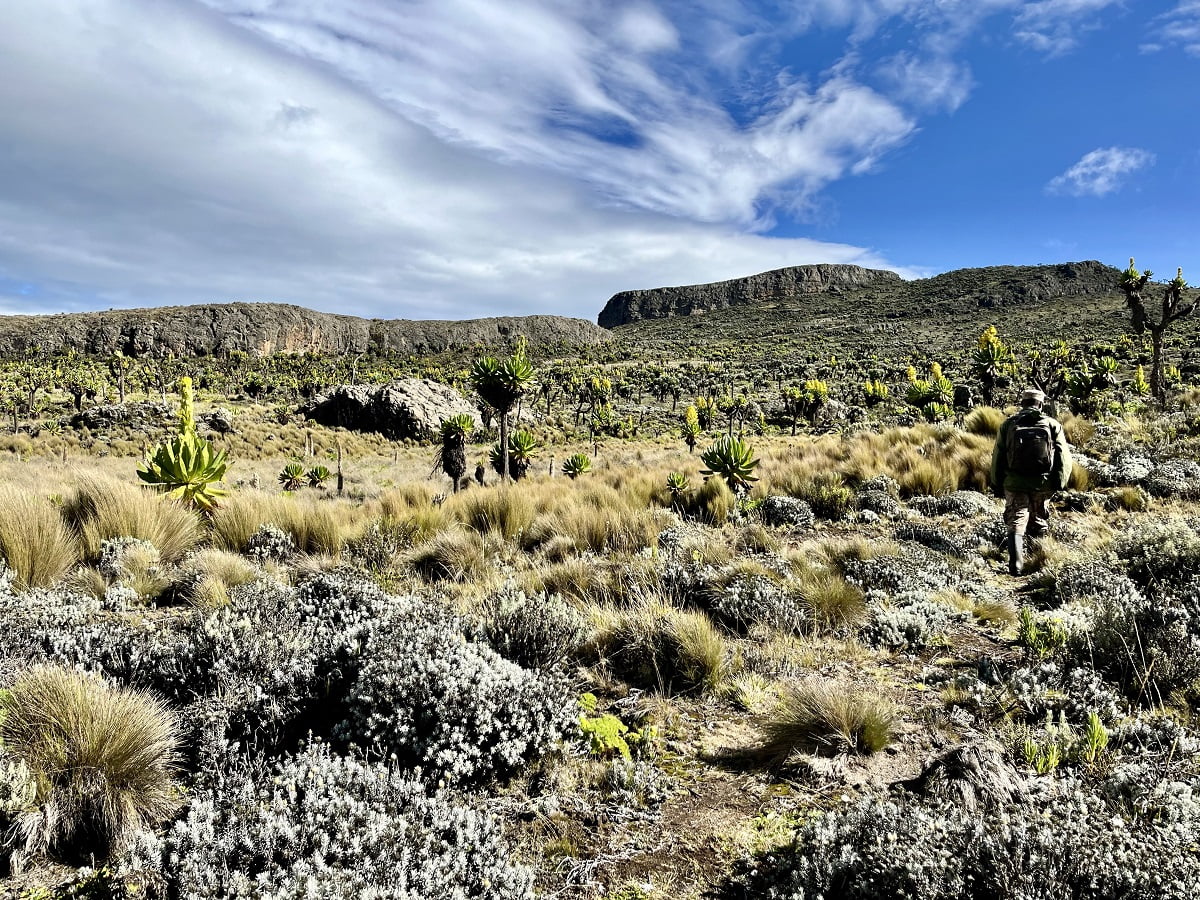
One of the many destinations in Africa you can easily visit, Uganda has eased its access to many nationalities, including Philippine Passport Holders. Eligible nationalities can apply for an e-visa in advance and then receive a visa stamp upon arrival at your point of entry. Now if you're finally interested, let me guide you through the application process of the Uganda E-Visa (Electronic Visa) and save you from some trouble that I encountered!
Eligibility
If you're NOT a Philippine Passport Holder, you may check your eligibility through the Visa Policy of Uganda.
While Wikipedia might not always have the latest information, it's usually my first stop for a quick overview. Then when in doubt, I check other resources - wherever it leads me to.
Requirements
Now that you have checked your eligibility, let’s now prepare the requirements. Don't worry though, this step is not as daunting as others' visa requirements.
- Passport Bio-Data Page
- Passport Size Photograph
- Return Ticket
- Yellow Fever Certificate
- Cover Letter stating your purpose of visit (optional)
Yellow Fever Certificate is the only requirement that needs a bit of effort and the rest are normal requirements. While the cover letter is optional, Yellow Fever Certificate is mandatory as you will see below (during the application process).
Ready to apply? Apply HERE!
Uganda E-Visa Application Process
The following steps are mostly self-explanatory but I have documented everything for those who want a visual guide before starting the whole process. What you will see below are my actual answers from the dropdown menus.
1 - Select the type of Application
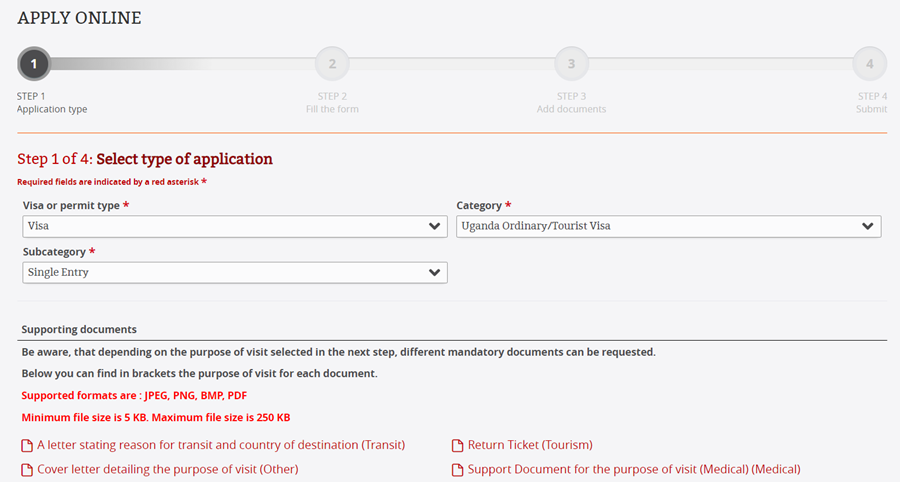
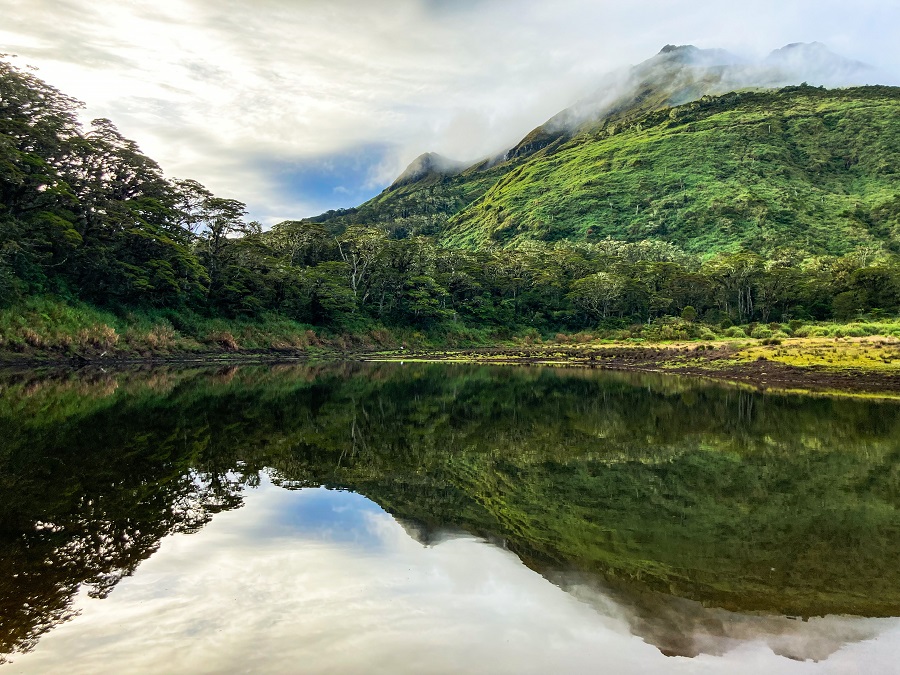
If you're traveling to other East African countries like Kenya and Rwanda, you might want to consider applying for the East African Tourist Visa. This joint visa allows travelers to visit Uganda, Kenya, and Rwanda. You can apply for it through the same portal as mentioned above. Simply select "East African Tourist Visa" in the 'Category' field. This visa is valid for 90 days, allows multiple entries, and costs $100.
2 - Fill Out Personal Data
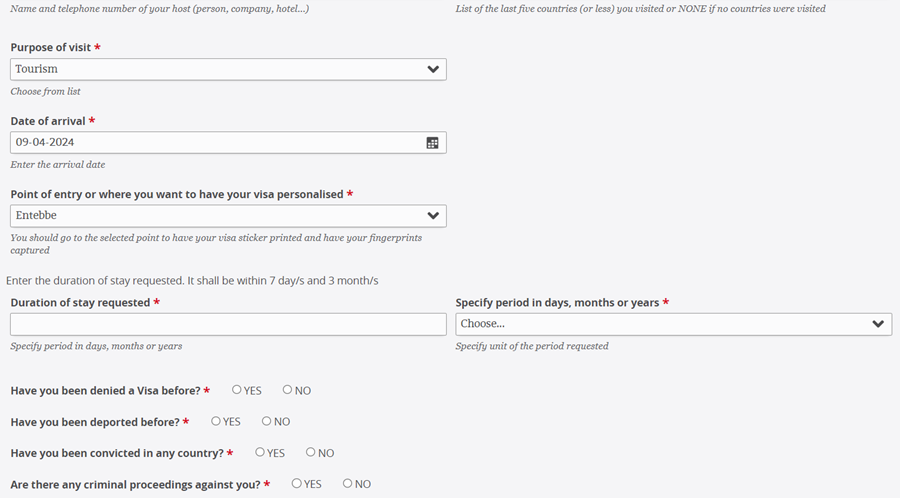
At this stage, I have encountered an error multiple times and the culprit is the "Duration of stay requested" and "Specify period in days, months, or years". Then I across a discussion from TripAdvisor and heard that other travelers' faced the same issue.
The solution that worked for all of us is to input 3 on the "Duration of stay requested" field and months on the "Specify period in days, months, or years" field. This duration aligns with the allowed length of stay for Philippine passport holders, as well as for other nationalities.
3 - Add documents
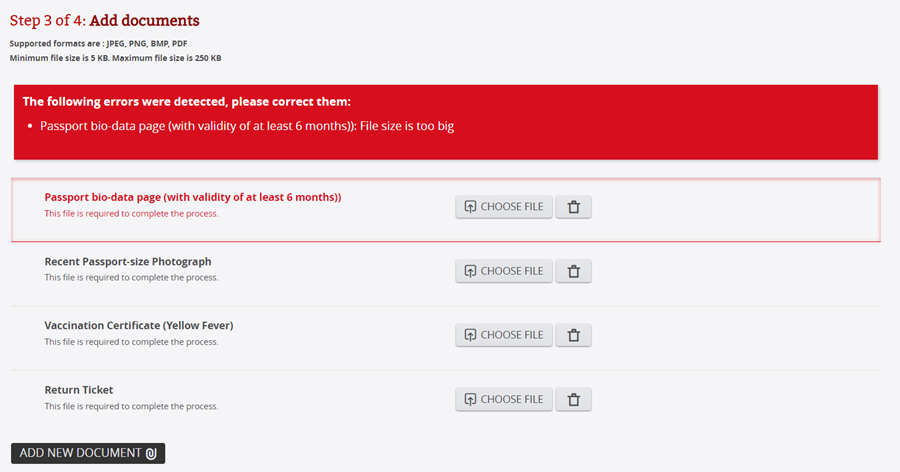
To upload the documents, compress them to a maximum file size of 250 KB. The system won't accept files larger than that, as shown in the photo above (File size is too big).
4 - Submit the Application
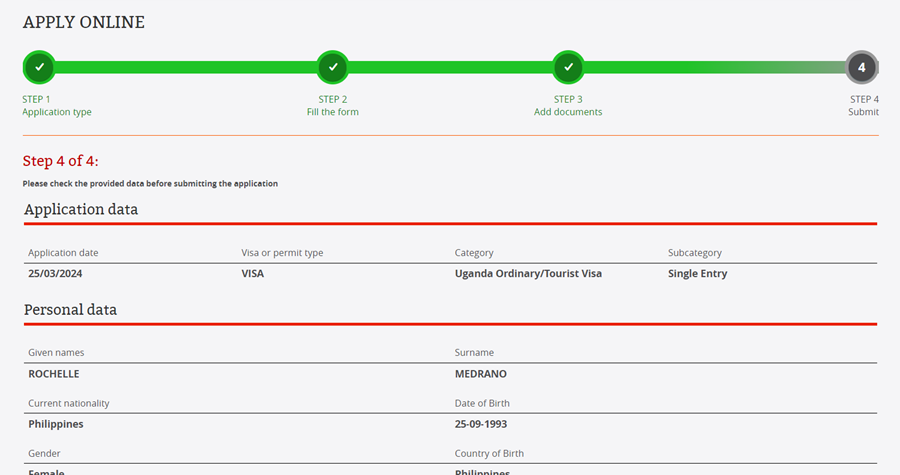
The last official step is to submit your application. Make sure that all the details are accurate before hitting the submit button.
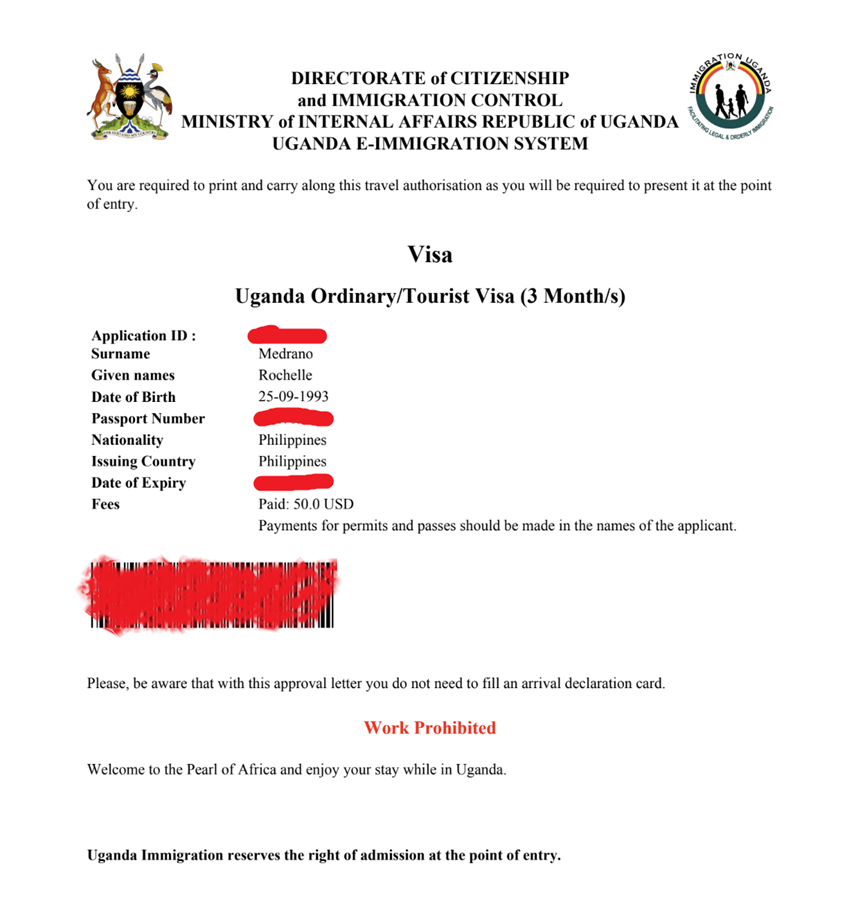
5 - Application Status & Payment
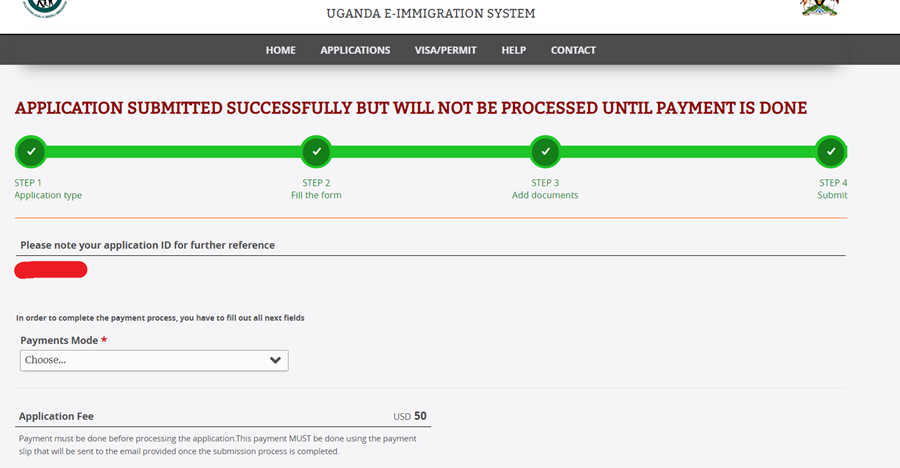
After hitting the submit button, you will be given an Application ID. Keep a note of it (write it down or save it in your notes) as you will use this ID to track your application status. You will also pay your visa fees at this point.
Uganda E-Visa Fees
The e-visa costs as of March 2024 are as follows:
- Ugandan/Ordinary Tourist Visa - $50 (plus tax so a total of $51.50) equivalent to AED189.15 in my local currency (UAE Dirhams)
- East African Tourist Visa - $100 (I have not tried this yet)
After paying your visa fees, it's a waiting game baby!
Overall Experience
To be honest, I was quite anxious after submitting my application. After three working days, I even sent an email to the Immigration Department to inquire about the status. I was told to continue waiting. Eventually, my application was approved after five working days with the attachment of my e-visa. I heard that it can take 7-10 working days, so I guess the five-day wait was on the lucky side.
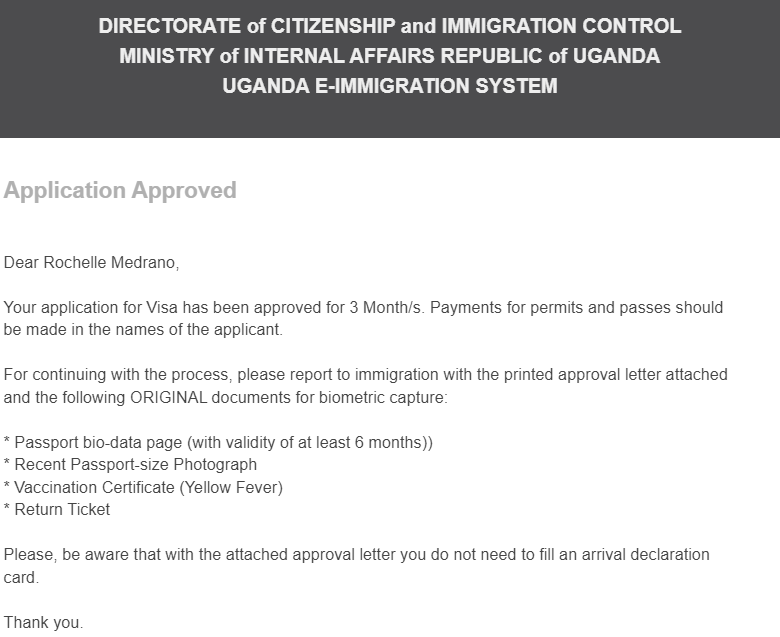
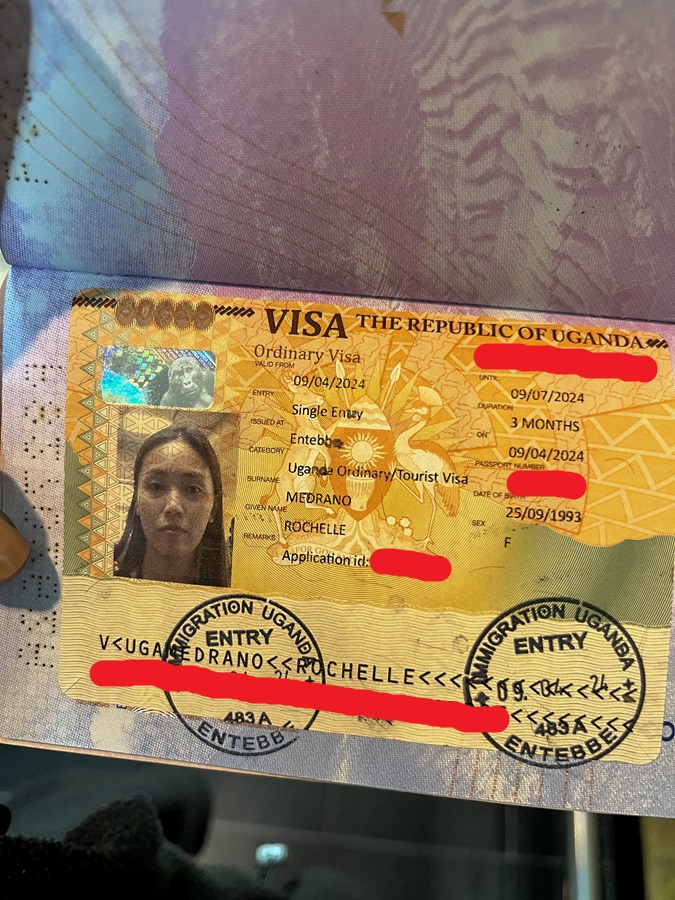
Based on my experience and understanding, the e-visa is only a pre-approval document. Upon my arrival, we lined up at an immigration counter to submit the e-visa and for biometrics. Some travelers were asked to present their original Yellow Fever Certificate (although I wasn't).
Then, the immigration officer printed out the actual visa and attached it to my passport.
Applying for Uganda's E-visa requires an extra step (by getting your Yellow Fever Certificate in advance if you don't have one yet), but overall, it's a straightforward process with an easy-to-navigate portal. When applying, make sure to set aside some buffer time and do it well in advance of your travel dates to ensure you receive your visa on time. And that's it for this visa guide—I hope you found it useful!